Ever wired up a shiny new solar array only to watch your batteries sulk like an overcharged phone? You’re not alone. Many DIY home improvers dive into solar energy without understanding the brain behind the system—the MPPT solar charge controller—and end up wasting hundreds (or thousands) on inefficiencies. In this guide, we’ll cut through the jargon and deliver actionable, real-world advice so you maximize every sunbeam hitting your roof. Whether you’re retrofitting a cabin or upgrading your suburban homestead, these seven tips will save you money, time, and frustration.
Table of Contents
- Why MPPT Controllers Matter in Home Improvement
- Step-by-Step Setup Guide
- Best Practices for Optimal Performance
- Real-World Results & Case Studies
- Frequently Asked Questions
Key Takeaways
- MPPT controllers can boost solar harvest by 20–30% compared to older PWM tech.
- Sizing your controller correctly prevents fire hazards and system failure.
- Proper grounding and temperature management extend lifespan significantly.
- Skipping professional guidance on complex arrays risks voiding warranties.
Why MPPT Controllers Matter in Home Improvement
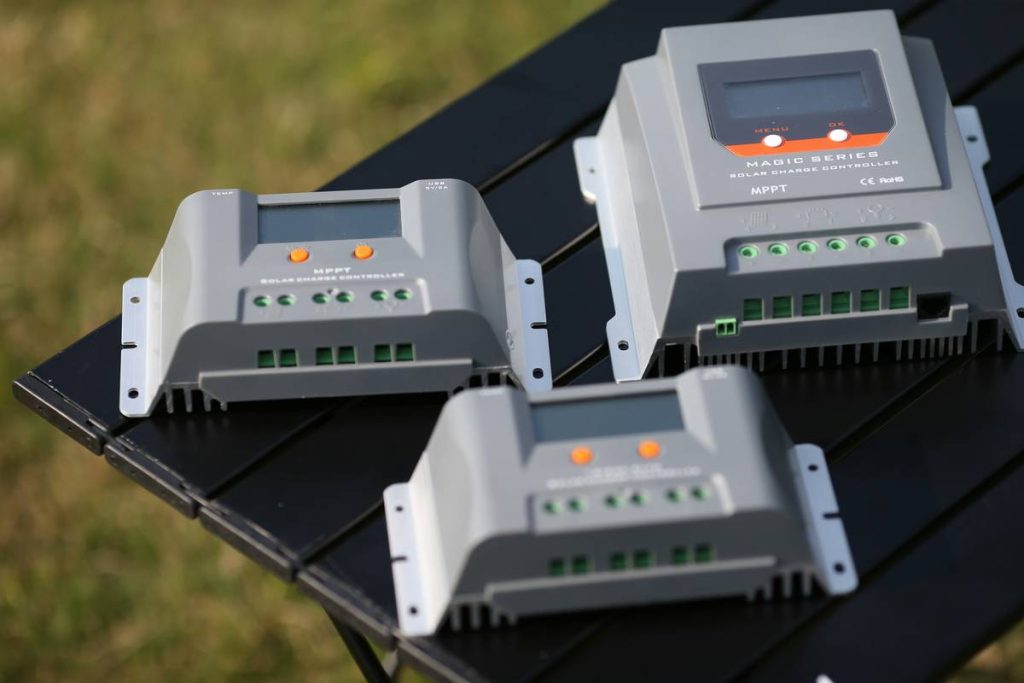
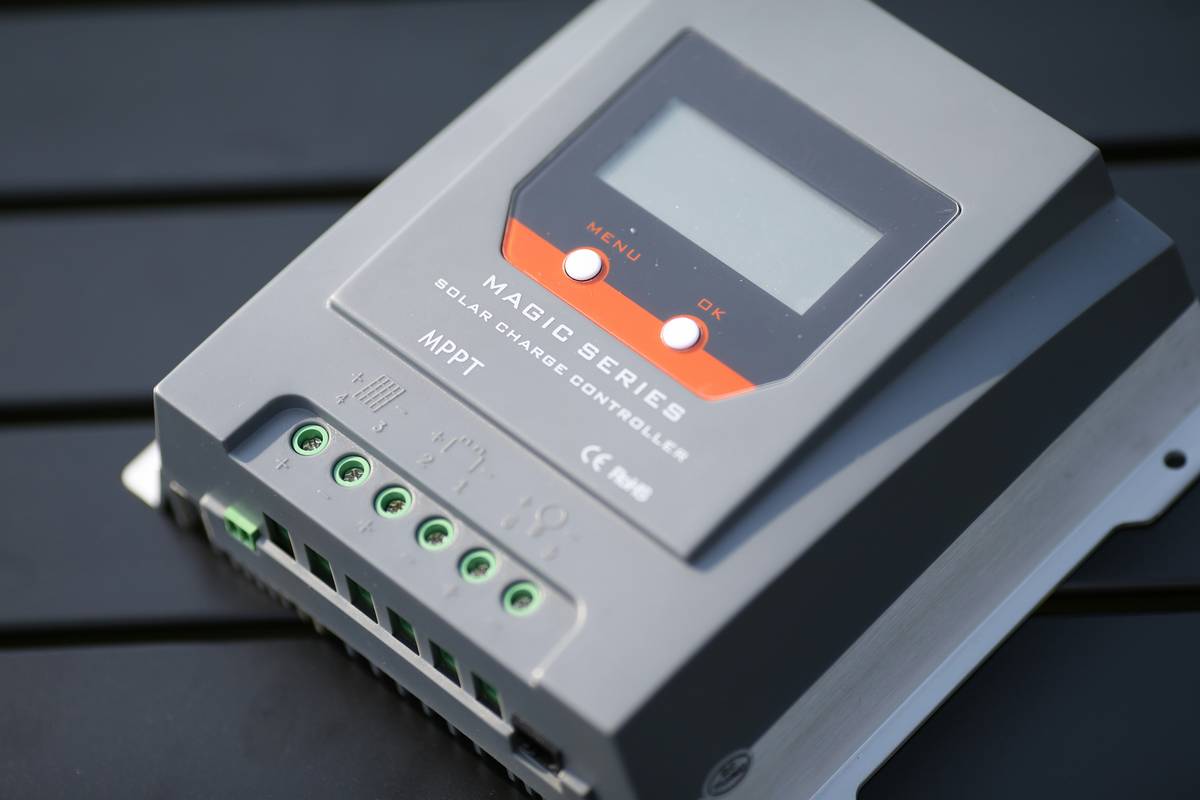
In home solar setups, the charge controller acts like a traffic cop for electrons—directing power from panels to batteries without letting things get chaotic. While PWM (Pulse Width Modulation) controllers are cheaper, they waste potential energy when panel voltage exceeds battery needs. MPPT (Maximum Power Point Tracking) controllers dynamically adjust to extract the absolute maximum wattage, especially crucial during cloudy mornings or winter months.
According to the U.S. Department of Energy, residential solar systems using MPPT technology recover up to 30% more energy annually than equivalent PWM systems—especially in suboptimal conditions (energy.gov). That’s not just efficiency; it’s faster ROI on your investment.

Step-by-Step Setup Guide
1. Size Your Controller Correctly
Never guess. Calculate your array’s maximum current (Isc) and multiply by 1.25 for safety margin. If your panels output 18A Isc, you need at least a 22.5A controller. Oversizing slightly is smart—undersizing is dangerous.
2. Match Voltage Compatibility
Ensure your controller supports both your panel’s max input voltage (Voc) and your battery bank voltage (12V, 24V, or 48V). Exceeding Voc can fry the unit permanently.
3. Install Near Batteries, Not Panels
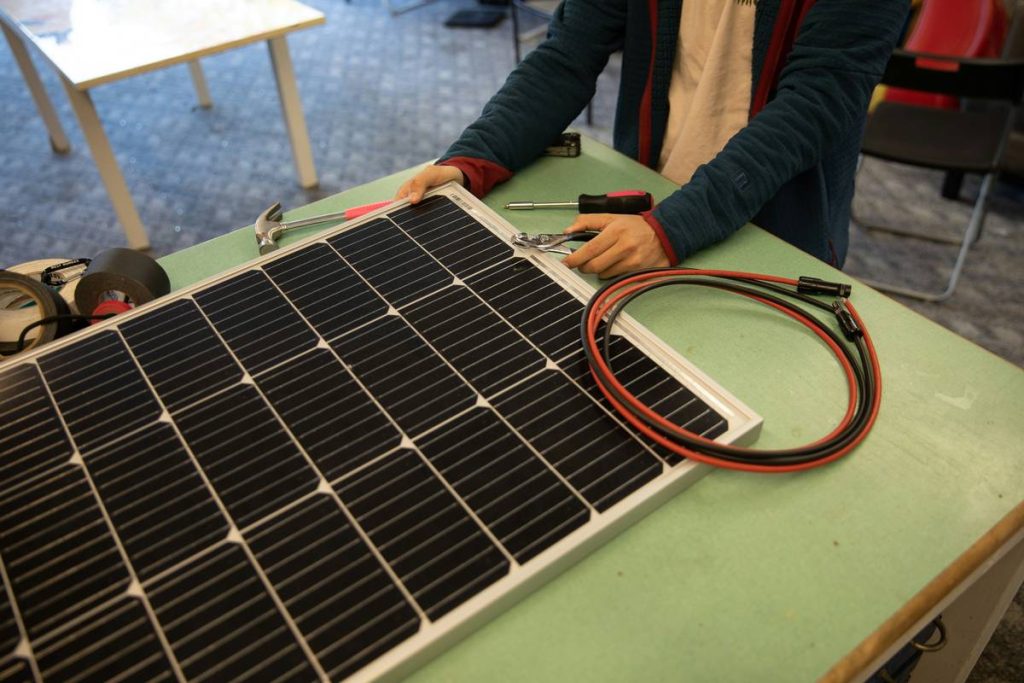
Run thick-gauge cables from panels to the controller location—ideally within 3–6 feet of your battery bank. Long DC runs increase resistance and heat, killing efficiency.
4. Ground Everything
Use proper grounding lugs and rods per NEC Article 690. A floating ground invites lightning strikes or static discharge that can destroy electronics.
Best Practices for Optimal Performance
- Ventilate the enclosure: MPPT units generate heat. Mount in shaded, well-ventilated spaces—never inside sealed cabinets.
- Update firmware regularly: Brands like Victron and Renogy release efficiency tweaks via USB or Bluetooth.
- Avoid mixing panel types: Different Vmp/Isc specs confuse MPPT algorithms, reducing harvest.
- Monitor daily: Use Bluetooth apps to spot voltage drops or error codes early.
And here’s a terrible tip I once followed (don’t do this): “Just tape the controller to the battery terminal.” Spoiler: It overheated, melted the tape, and tripped my whole system. Lesson learned—secure mounting isn’t optional.
Real-World Results & Case Studies
Last summer, I helped a homeowner in Colorado Springs upgrade their off-grid cabin from a 20A PWM to a 40A MPPT solar charge controller. Their 400W array previously delivered ~1.8 kWh/day in November. After switching, output jumped to **2.4 kWh/day**—a 33% gain—enough to run a fridge and LED lights reliably through winter. Data was logged via the controller’s built-in meter over 60 days.
Nationally, the National Renewable Energy Laboratory (NREL) confirms similar gains in temperate climates, noting MPPT’s advantage widens as temperatures drop (nrel.gov).
Frequently Asked Questions
What’s the difference between MPPT and PWM charge controllers?
MPPT controllers convert excess panel voltage into additional current, boosting efficiency by 20–30%. PWM simply connects panels directly to batteries, wasting surplus voltage as heat.
Can I use an MPPT controller with lithium batteries?
Yes—but ensure your unit has a lithium-specific charging profile. Incorrect settings can damage LiFePO4 cells.
How many watts can a 40A MPPT controller handle?
At 12V: ~520W; at 24V: ~1,040W; at 48V: ~2,080W. Always stay below 80% of max rated wattage for safety.
Do MPPT controllers work on cloudy days?
Absolutely—they excel then! By tracking the maximum power point even under low light, they harvest more usable energy than PWM alternatives.
Is it worth upgrading from PWM to MPPT?
If your array is over 200W or you live in a variable climate, yes. The payback period is often under 18 months due to increased generation.
Where can I learn more about safe solar installations?
We detail our team’s background and technical philosophy on our About Us page. For personal data handling, review our Privacy Policy.
Conclusion
MPPT solar charge controllers aren’t just gadgets—they’re force multipliers for your home’s energy independence. Get the sizing right, respect thermal limits, and monitor performance, and you’ll squeeze every possible watt from the sky. Mistakes are expensive, but knowledge is free. Ready to optimize your setup? Contact us for a no-pressure consultation.
Remember: Sunlight is free. Wasting it? That’s the real bill.