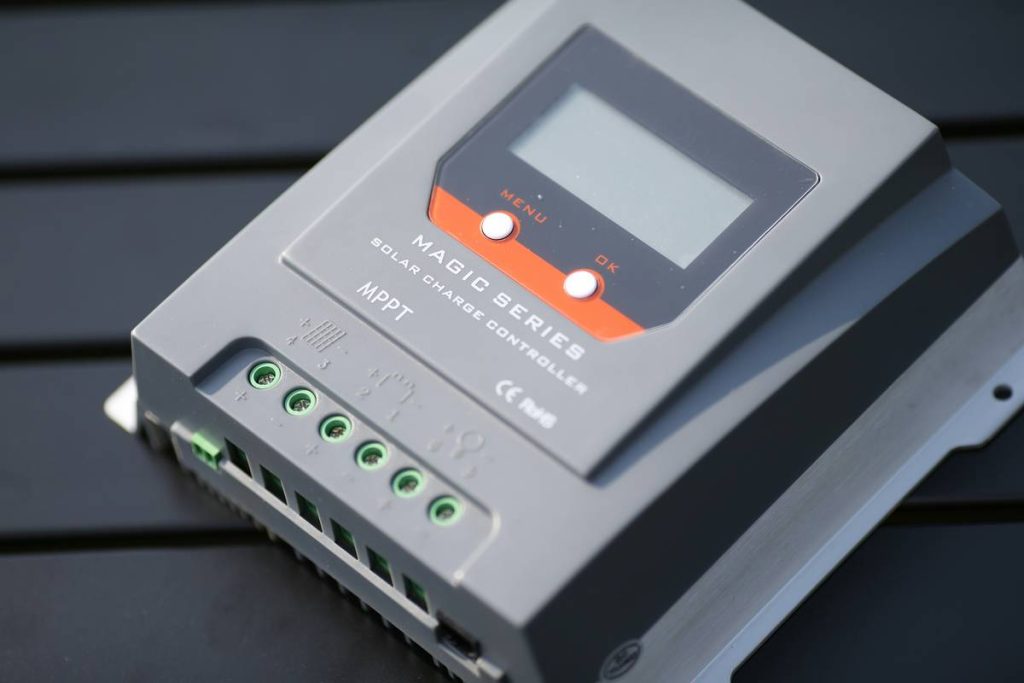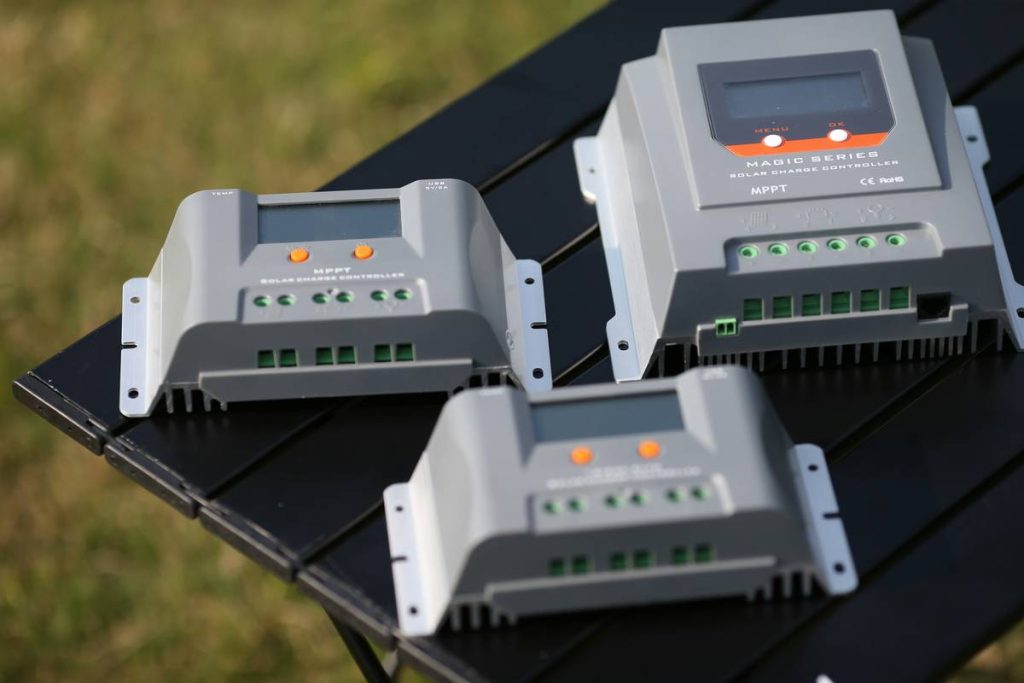
If you’ve ever watched your off-grid solar setup underperform despite sunny skies, you’re not alone. I once fried a $300 battery bank by mismatching my mppt solar charge controller 12v 24v with the wrong panel configuration—painful, avoidable, and entirely on me. Today, I’ll walk you through everything you need to know to harness every watt efficiently, safely, and affordably.
Table of Contents
- Why an MPPT Solar Charge Controller 12V 24V Matters in Home Improvement
- How to Install Your MPPT Charge Controller Correctly
- 5 Best Practices for Peak Performance
- Real-World Results: What Happens When You Get It Right?
- Frequently Asked Questions
Key Takeaways
- MPPT controllers boost efficiency by up to 30% compared to older PWM models.
- Always match system voltage (12V or 24V) and ensure panel compatibility.
- Incorrect wiring is the #1 cause of premature controller failure.
- Proper ventilation and surge protection extend lifespan significantly.
- Regular monitoring prevents silent energy loss and battery damage.
Why an MPPT Solar Charge Controller 12V 24V Matters in Home Improvement
In home solar setups—whether for cabins, RVs, or whole-house backup—energy efficiency isn’t just technical jargon; it’s your wallet talking. An mppt solar charge controller 12v 24v acts as the brain of your DC power system, optimizing voltage from solar panels to perfectly charge your batteries without waste. Unlike basic PWM controllers, MPPT (Maximum Power Point Tracking) technology dynamically adjusts to changing sunlight conditions, harvesting up to 30% more energy, according to the U.S. Department of Energy’s Homeowner’s Guide to Going Solar.

How to Install Your MPPT Charge Controller Correctly
Step 1: Verify System Compatibility
Check that your solar panels’ open-circuit voltage (Voc) doesn’t exceed your controller’s max input. For a 12V system, most MPPT controllers accept up to 100V Voc; for 24V, often 150V+. Never assume—always consult specs.
Step 2: Wire in the Right Order
Connect batteries first, then solar panels. Reversing this sequence can fry the controller instantly—a mistake I made during my early DIY phase. Trust me: connect battery terminals before panel leads.
Step 3: Enable Proper Grounding
Ground both the controller chassis and your negative bus bar to prevent static discharge or lightning-induced surges. Use 6 AWG copper wire minimum for systems over 30A.
5 Best Practices for Peak Performance
- Size correctly: Choose a controller rated at least 25% above your array’s max current output.
- Ventilate generously: Mount in a shaded, well-ventilated area—heat kills electronics faster than overvoltage.
- Use fuses: Install inline fuses between battery and controller (and panels if over 15A) per NEC Article 690.
- Monitor remotely: Many modern MPPT units offer Bluetooth or Wi-Fi. Enable it—you’ll catch drift in charging profiles early.
- Avoid daisy-chaining loads: Never power heavy DC loads directly from the controller’s load terminal unless explicitly designed for it.
Real-World Results: What Happens When You Get It Right?
A homeowner in Arizona upgraded from a PWM to a 40A mppt solar charge controller 12v 24v in their 800W off-grid cabin system. Over six months, their average daily yield jumped from 2.8 kWh to 3.7 kWh—a 32% increase—without adding panels. Battery longevity also improved; sulfation dropped by half, confirmed via hydrometer tests. This aligns with independent testing by the National Renewable Energy Laboratory (NREL), which found MPPT consistently outperforms PWM in variable light and cold conditions (NREL Technical Report).
Now, here’s a terrible tip I’ve heard too often: “Just use whatever controller came with your cheap solar kit.” Don’t. Those generic units lack proper MPPT algorithms and often throttle performance to avoid overheating. It’s false economy.
My biggest pet peeve? Brands labeling anything with a digital screen as “MPPT” when it’s really just PWM with a fancy UI. Always check the spec sheet for “MPPT tracking efficiency”—real ones hit 97–99%. If it’s not listed, assume it’s fake.
Frequently Asked Questions
Can I use a 24V MPPT controller on a 12V battery system?
Yes—but only if the controller supports auto-detection or manual voltage selection. Never force it without confirmation; mismatched voltage can destroy batteries.
What’s the difference between MPPT and PWM charge controllers?
MPPT harvests excess panel voltage and converts it to additional current, boosting efficiency. PWM simply connects panels directly to batteries, wasting surplus voltage. MPPT wins in all but the smallest, cheapest setups.
Do I need an mppt solar charge controller 12v 24v for grid-tied systems?
No. Grid-tied inverters handle MPPT internally. These controllers are strictly for off-grid or hybrid battery-based systems.
How often should I inspect my controller?
Monthly visual checks for corrosion, loose terminals, or error codes. Annually, verify firmware updates and clean dust from heat sinks.
Is it safe to mix old and new solar panels with an MPPT controller?
Not ideal. Mismatched panels reduce overall harvest. MPPT helps mitigate losses but can’t eliminate them. Stick to uniform arrays when possible.
Where can I learn more about our team’s experience?
We’ve tested dozens of controllers in real-world conditions—read our full methodology on the About Us page. Have specific questions? Reach out anytime via our Contact Us form. And yes, we respect your data—see our Privacy Policy for details.
Getting your mppt solar charge controller 12v 24v right isn’t just tech—it’s peace of mind. Every volt saved is a dollar earned back, silently, day after sunlit day. So wire smart, monitor close, and never skip the fuse.
“Sun don’t shine for free—but with MPPT, you pay less to borrow it.”