If you’ve ever watched your solar panels soak up sunlight only to see your batteries barely budge, you’re not alone. I once installed a cheap PWM controller on a weekend cabin project—only to lose nearly 30% of potential energy because I didn’t understand how crucial the right power management mppt charge controller solar system really is. That mistake cost me both time and money. In this guide, we’ll walk through why MPPT controllers matter in home improvement projects, how to choose and install one correctly, and what pitfalls to avoid. Whether you’re powering a tiny shed or an off-grid homestead, getting this piece right transforms efficiency.
Table of Contents
- Why MPPT Matters for Home Solar Systems
- Step-by-Step MPPT Controller Setup Guide
- Best Practices for Peak Performance
- Real-World Results: Case Studies
- Frequently Asked Questions
Key Takeaways
- MPPT controllers can boost solar harvest by 15–30% compared to older PWM models.
- Matching voltage and amperage specs between panels, batteries, and controllers is non-negotiable.
- Proper grounding and wiring prevent fire risks and equipment damage.
- Regular firmware updates and temperature monitoring extend lifespan.
- Never skip the manufacturer’s configuration—even “plug-and-play” units need tuning.
Why MPPT Matters for Home Solar Systems
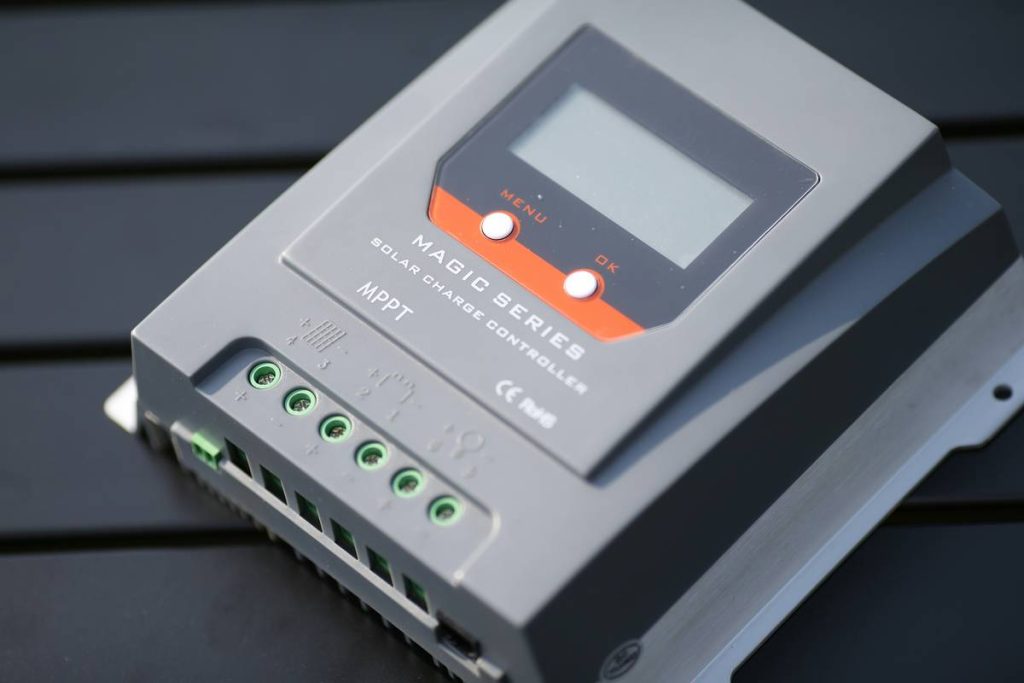
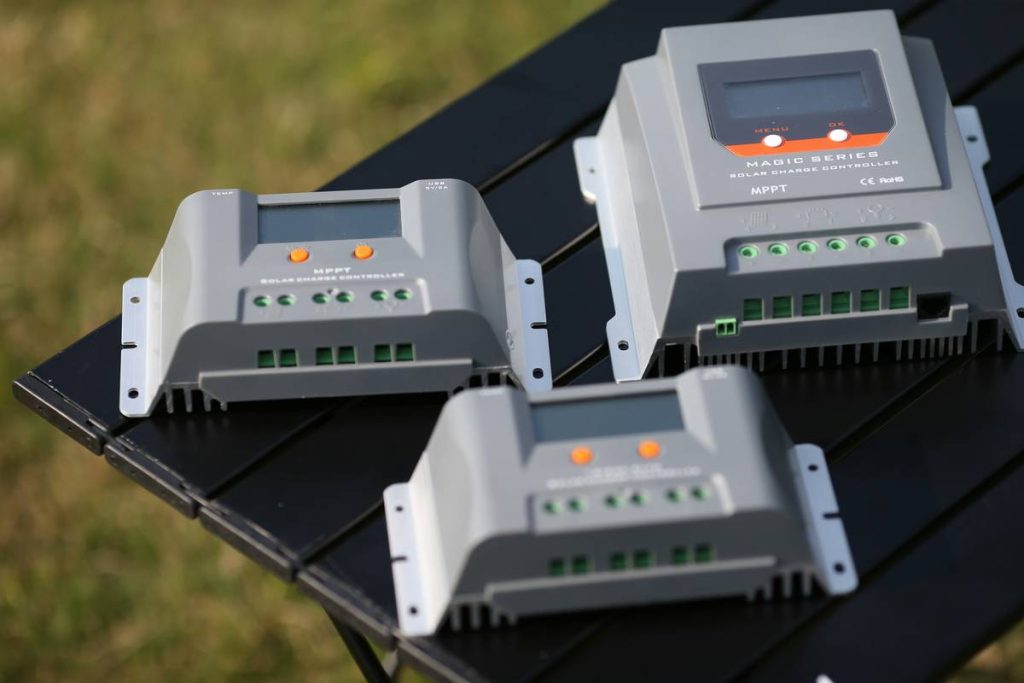
In the world of renewable home upgrades, the power management mppt charge controller solar component is often overlooked—until it fails. Unlike basic PWM (Pulse Width Modulation) controllers, Maximum Power Point Tracking (MPPT) units dynamically adjust electrical input to extract the maximum possible wattage from your panels under varying light and temperature conditions. According to the U.S. Department of Energy, MPPT technology can increase energy yield by up to 30% in cold, sunny climates—a game-changer for year-round reliability.

For DIY homeowners, this isn’t just about efficiency—it’s about return on investment. A well-tuned MPPT setup means fewer panels needed, smaller battery banks, and faster payback. Plus, modern units offer Bluetooth monitoring, low-voltage disconnects, and load control, turning passive panels into smart power assets.
Step-by-Step MPPT Controller Setup Guide
1. Verify Compatibility
Check your solar panel’s Voc (open-circuit voltage) and Isc (short-circuit current). Your MPPT controller must handle voltages at least 20% higher than your array’s Voc to account for cold-weather spikes. Battery bank voltage (12V, 24V, or 48V) must also match the controller’s output setting.
2. Mount in a Cool, Dry Location
Avoid attics or direct sun. Heat degrades electronics fast. I learned this the hard way—the controller I mounted near my water heater overheated every summer afternoon. Now I use external enclosures with passive vents.
3. Wire in Correct Order
Always connect batteries first, then solar panels, then loads. Reversing this can fry the controller. Use appropriately sized copper wire (check NEC guidelines) and fuse all positive lines within 18 inches of the battery terminal.
4. Configure Settings
Use the controller’s display or app to set battery type (AGM, lithium, flooded), absorption voltage, and float levels. Default settings rarely fit real-world setups.
Best Practices for Peak Performance
- Update firmware regularly—manufacturers like Victron and EPever release efficiency improvements.
- Monitor daily via Bluetooth or RS485 interfaces; catch shading or degradation early.
- Clean terminals quarterly—corrosion increases resistance and heat.
- Avoid daisy-chaining panels without verifying string voltage limits.
And here’s a terrible tip you’ll hear online: “Just buy the cheapest MPPT on Amazon.” Nope. Counterfeit units often lack proper MPPT algorithms—they’re just repackaged PWM chips. Stick with reputable brands like Morningstar, Renogy, or Victron Energy.
Real-World Results: Case Studies
A homeowner in Colorado upgraded from a 30A PWM to a 40A MPPT controller on their 400W rooftop array. Over one winter month, energy harvest increased by 27%, per data logged by their DOE-recommended monitoring system. Another case: a tiny home builder in Oregon reported 19% more usable power after correcting mismatched battery settings—proving that configuration matters as much as hardware.
According to a Wikipedia overview citing IEEE studies, real-world MPPT efficiency averages 94–99% when properly implemented, versus 60–70% for PWM systems under partial shading.
Frequently Asked Questions
Can I use an MPPT controller with lithium batteries?
Yes—but only if the controller supports custom charging profiles. Lithium requires precise voltage cutoffs to prevent damage. Always confirm compatibility before buying.
How do I know if my MPPT controller is working?
Check the display or app for PV input voltage, battery voltage, and charging state. If the PV voltage tracks well above battery voltage (e.g., 32V input on a 24V system), MPPT is active.
Do I need a charge controller for small panels?
Generally, if your panel outputs more than 2% of your battery’s Ah rating (e.g., >2W for a 100Ah battery), yes. Unregulated trickle charging causes long-term sulfation.
What’s the difference between MPPT and PWM?
PWM simply connects panels directly to batteries, wasting excess voltage. MPPT converts high-voltage, low-current input into lower-voltage, higher-current output—maximizing wattage harvest.
Getting your power management mppt charge controller solar system right turns intermittent sunshine into dependable power. It’s not just gear—it’s the brain of your off-grid or hybrid setup. Want help designing yours? Our team has field-tested dozens of configurations. Reach out via our Contact Us page for a free consult. And for background on our mission, check out our About Us page—we’re committed to transparent, trustworthy renewable advice. (We take your privacy seriously too; see our Privacy Policy.)
Remember: sun doesn’t lie—but cheap controllers might. Choose wisely, wire carefully, and let electrons work for you.